Before you can invoice someone, you need to add them as a client. You only need to do this once — after that, they'll appear in the dropdown every time you create an invoice.
- 1
Go to Clients
Click on Clients in the left sidebar to open your client list.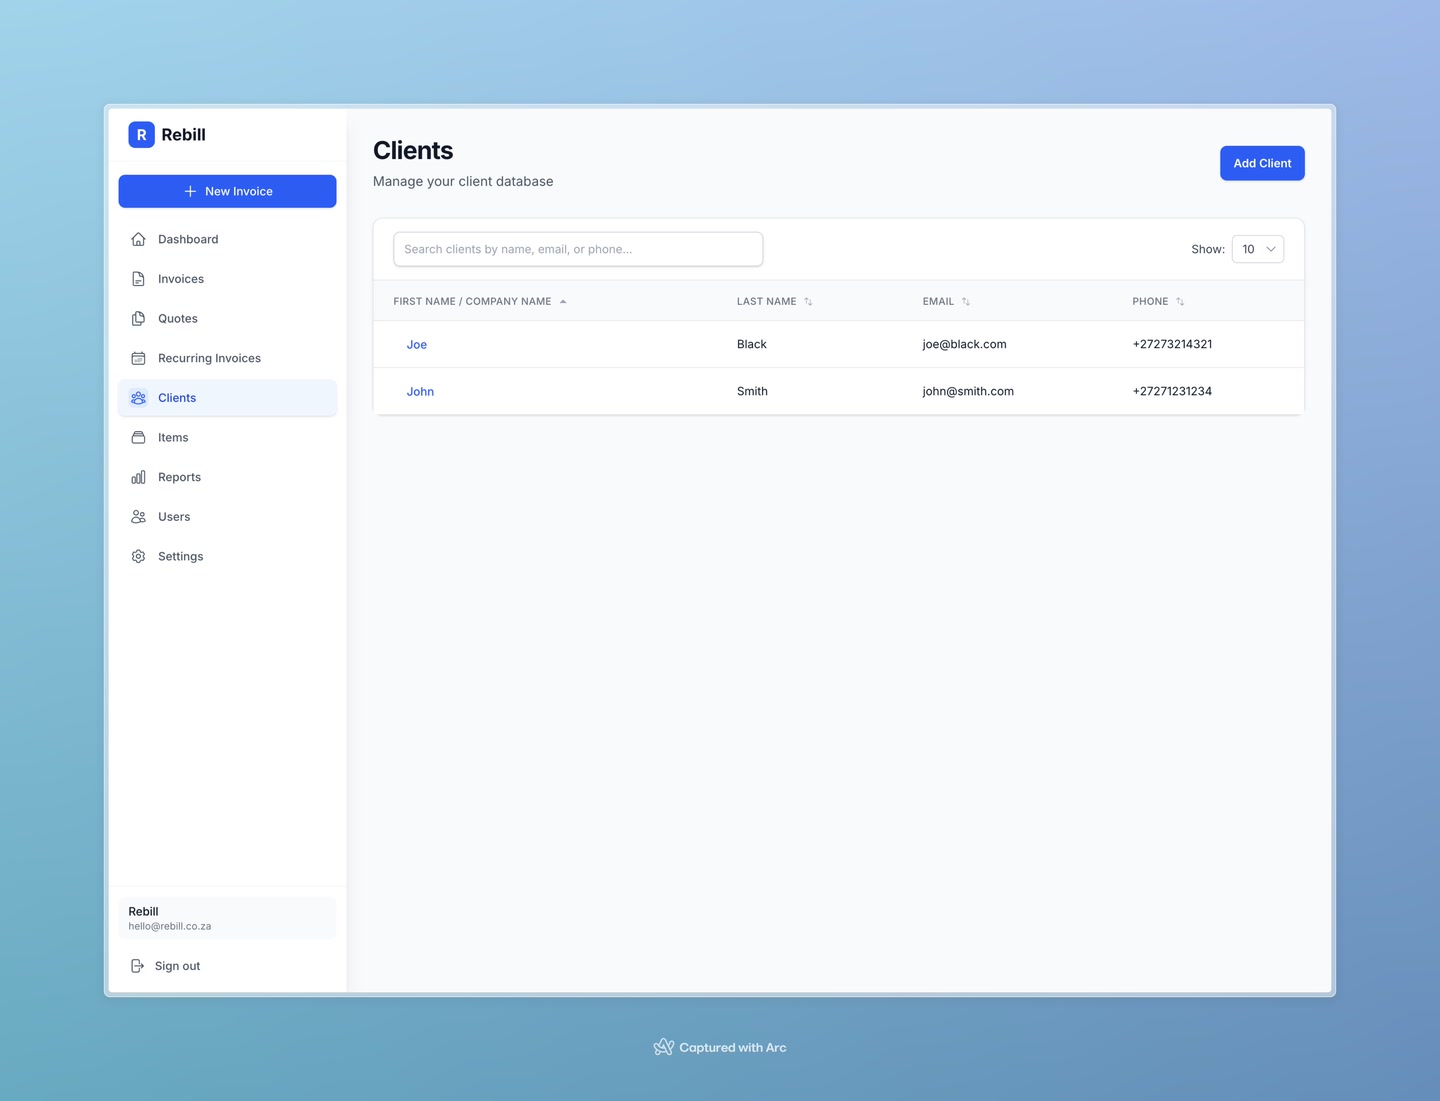
- 2
Click "Add Client"
Click the "Add Client" button at the top right of the page.
- 3
Enter the client's details
Fill in their information:- First Name / Company Name — enter the person's first name, or the company name for a business client
- Email Address — where their invoices will be sent
- Phone Number — required if you want to send invoices via WhatsApp
- Invoice Number Prefix — optional. If set, invoices for this client will use this prefix instead of your default (e.g. "ABC-001")

- 4
Add billing address (optional)
If you need a billing address to appear on invoices, scroll down and fill in the billing address fields. The address appears on printed invoices.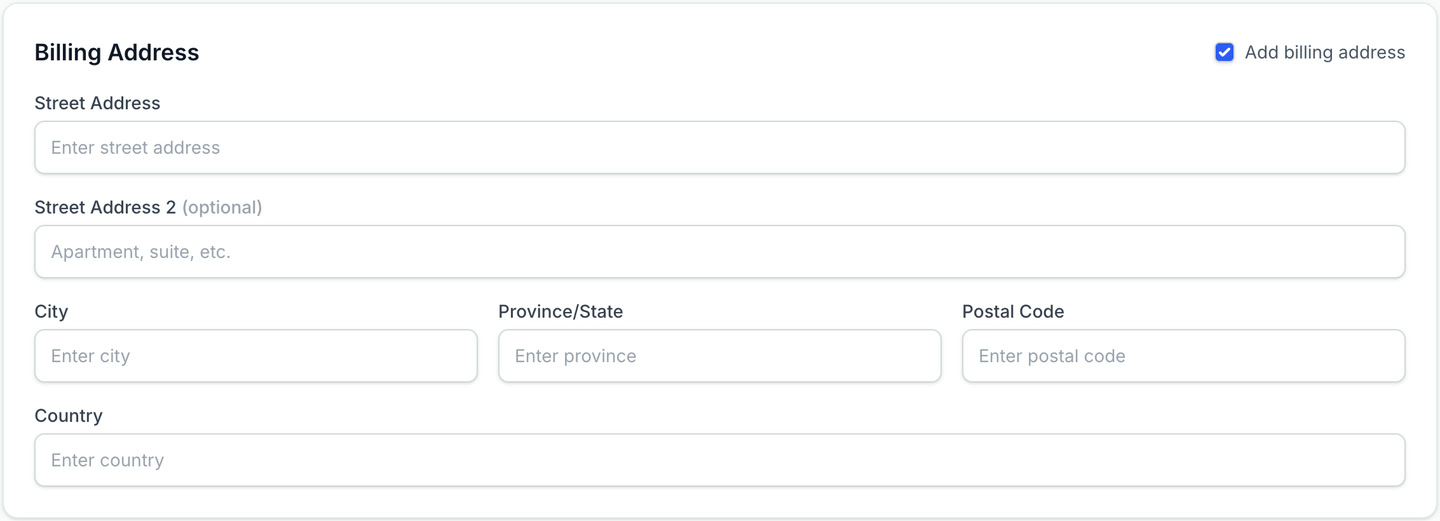
- 5
Save the client
Click "Create Client" at the bottom. The client is now available to select when creating invoices.
Adding a client during invoice creation
You can also add clients on the fly while creating an invoice — just type a new name in the client field and you'll get an option to create them without leaving the form.